Commercial ceiling installation is an important part of creating a functional, professional, and comfortable business environment. Whether you’re renovating an office, updating a retail space, or planning a new commercial facility, the right ceiling system can influence the appearance of your space, acoustics, lighting integration, and long-term maintenance needs.
However, a successful installation involves more than placing ceiling tiles overhead. It requires careful planning, appropriate material selection, coordination with other building systems, accurate measurements, and professional installation practices.
Understanding the commercial ceiling installation process helps property owners, facility managers, and contractors know what to expect at each stage. It can also make project planning easier, reduce avoidable delays, and support better long-term performance. In this guide, we’ll explain the essential commercial ceiling installation steps, from the initial site assessment to the final inspection.
Key Takeaways
- Proper planning and site assessment help ensure a smooth commercial ceiling installation
- Choosing the right ceiling system depends on your building’s needs, budget, and acoustic requirements
- Accurate grid installation and careful tile placement create a stable, professional finish
- Coordinating lighting, HVAC, and other building systems helps prevent delays and costly rework
- Final inspections ensure the ceiling meets quality standards and project requirements
1. Initial Site Assessment and Project Planning
The first step in a commercial ceiling installation project is evaluating the space. Before choosing materials or beginning work, the contractor needs to understand the building’s layout, existing ceiling conditions, and functional requirements. During the assessment, the team may review:
- Room dimensions and ceiling height: Accurate measurements help determine material quantities, grid layout, and installation requirements
- Existing ceiling conditions: Renovation projects may require an evaluation of damaged tiles, grid components, suspension systems, or other existing materials
- Building systems: Lighting, HVAC equipment, sprinkler systems, wiring, and other overhead components must be considered during planning
- Space usage: Offices, retail stores, restaurants, and other commercial facilities can have different acoustic, maintenance, and design requirements
- Project schedule: Installation timing should account for business operations, access restrictions, and the need to minimize disruption
For renovation projects, the contractor should also identify whether existing ceiling components can be retained or whether removal and replacement are necessary. Thorough planning helps establish the project’s scope and highlights potential challenges before installation begins. It also provides an opportunity to discuss expectations, budget considerations, material availability, and scheduling.
2. Choosing the Right Commercial Ceiling System
Once the site assessment is complete, the next step is selecting a ceiling system that suits the building’s needs. The best choice depends on the type of space, its intended use, maintenance requirements, appearance, and project budget.
Suspended Ceiling Systems
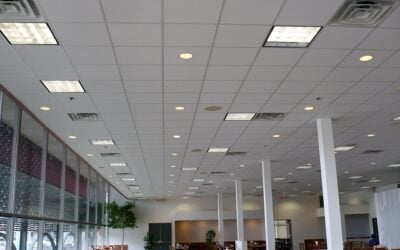
Suspended ceilings use a grid framework supported below the building’s structural ceiling. Ceiling tiles or panels fit into the grid, creating a finished surface while allowing access to overhead utilities. These systems are often used in offices and other commercial spaces because individual tiles can typically be removed when access to wiring, plumbing, or HVAC components is needed.
Acoustic Ceiling Systems
Acoustic ceiling tiles and panels are designed to help manage sound within a space. They can be useful in offices, meeting rooms, educational environments, and other areas where noise control and speech clarity are important. Acoustic performance varies by product, so the selected system should match the room’s specific requirements.
Specialty Commercial Ceiling Systems
Some commercial environments require ceiling products with particular performance characteristics, such as enhanced moisture resistance, cleanability, durability, or a specific architectural appearance.
The appropriate product should be selected according to the conditions of the space and the manufacturer’s documented specifications. Requirements for specialized environments may also depend on applicable building codes and project standards.
When choosing a commercial ceiling system, consider the building’s purpose, desired appearance, acoustic needs, access requirements, maintenance expectations, and installation constraints. A qualified commercial ceiling contractor can help evaluate these factors and identify suitable options.
3. Preparing the Site for Installation
Proper site preparation helps keep the commercial ceiling installation organized and reduces the risk of damage to surrounding areas. Before work begins, the installation team should coordinate access to the work area and determine how the project will affect employees, customers, tenants, or other contractors.
Preparation may include:
- Moving or protecting furniture, equipment, and merchandise
- Establishing a safe work zone and controlling access where necessary
- Coordinating with electrical, HVAC, sprinkler, and other trades
- Confirming that required materials, tools, and equipment are available
- Reviewing site-specific safety procedures and installation requirements
- Planning material storage and debris removal
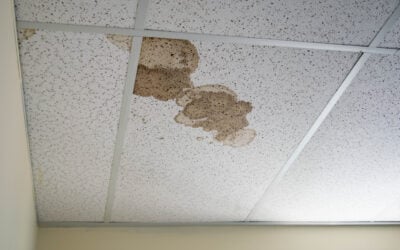
In occupied buildings, scheduling may be especially important. Work might need to take place in phases or during periods when fewer people are using the space. For renovation projects, the team may also need to remove existing ceiling tiles or grid components. Before installing a replacement system, the contractor should evaluate the exposed area for visible damage or conditions that could affect the new ceiling. Any suspected moisture intrusion, damaged supports, or other building issues should be addressed appropriately before they are concealed.
4. Installing the Ceiling Grid and Suspension System
For a suspended ceiling, the grid and suspension system provide the framework that supports the ceiling tiles. Proper layout and installation are essential to achieving a level, stable, and professional-looking finished surface. The exact process depends on the selected system, building conditions, and manufacturer instructions, but commonly includes the following steps.
Establishing the Layout
The installer measures the room and marks the planned ceiling elevation and grid layout. Careful planning helps position tiles consistently and account for walls, lighting fixtures, and other overhead features. The layout should also consider how tile cuts will appear along the perimeter and how the ceiling will align with the room’s design.
Installing Perimeter Components
Perimeter molding or other specified edge components are installed along the walls to establish the boundary of the ceiling system. Accurate placement helps create a clean edge and supports the intended grid arrangement.
Installing Suspension Components
The suspension system is installed according to the design and manufacturer’s requirements. Hangers and related components must be appropriate for the ceiling system and building conditions. Existing structural elements should be evaluated before installation, and the system must not rely on unsupported or unsuitable attachment points.
Assembling and Aligning the Grid
Main runners and cross tees are connected to form the ceiling grid. Installers check alignment, level, spacing, and connections to ensure the framework is arranged correctly. The grid layout must accommodate planned fixtures and other building systems while maintaining the support required by the specified ceiling assembly.
An improperly aligned or inadequately supported grid can lead to uneven tiles, gaps, movement, or other performance issues. Following the system’s installation instructions and applicable requirements helps support a reliable finished ceiling.
5. Installing Ceiling Tiles and Panels
After the grid has been installed and checked, the team can begin placing ceiling tiles or panels. For many suspended ceiling systems, tiles are lowered into the grid openings and positioned so they sit correctly on the supporting framework. Panels may need to be cut to fit around walls, columns, light fixtures, vents, and other obstructions.
During this stage, installers should:
- Confirm that tiles and panels match the specified product
- Check orientation and pattern consistency where applicable
- Measure and cut perimeter pieces carefully
- Make appropriate allowances for approved fixtures and penetrations
- Handle materials according to manufacturer recommendations
- Inspect tiles for visible damage before and during installation
Careful handling helps reduce scratches, broken edges, and other cosmetic defects. Accurate cutting also contributes to a cleaner appearance around walls and building components. The installation team should avoid forcing tiles into place or making unapproved changes to the grid. Any unexpected fit issues should be investigated and corrected according to the system’s requirements. Once the tiles are installed, the ceiling should have a consistent appearance, with properly seated panels and a layout that matches the approved plan.
6. Coordinating Lighting, HVAC, and Other Building Systems
Commercial ceilings often incorporate lighting, air distribution, sprinkler components, sensors, and other equipment. Coordinating these systems is an important part of the overall installation process.
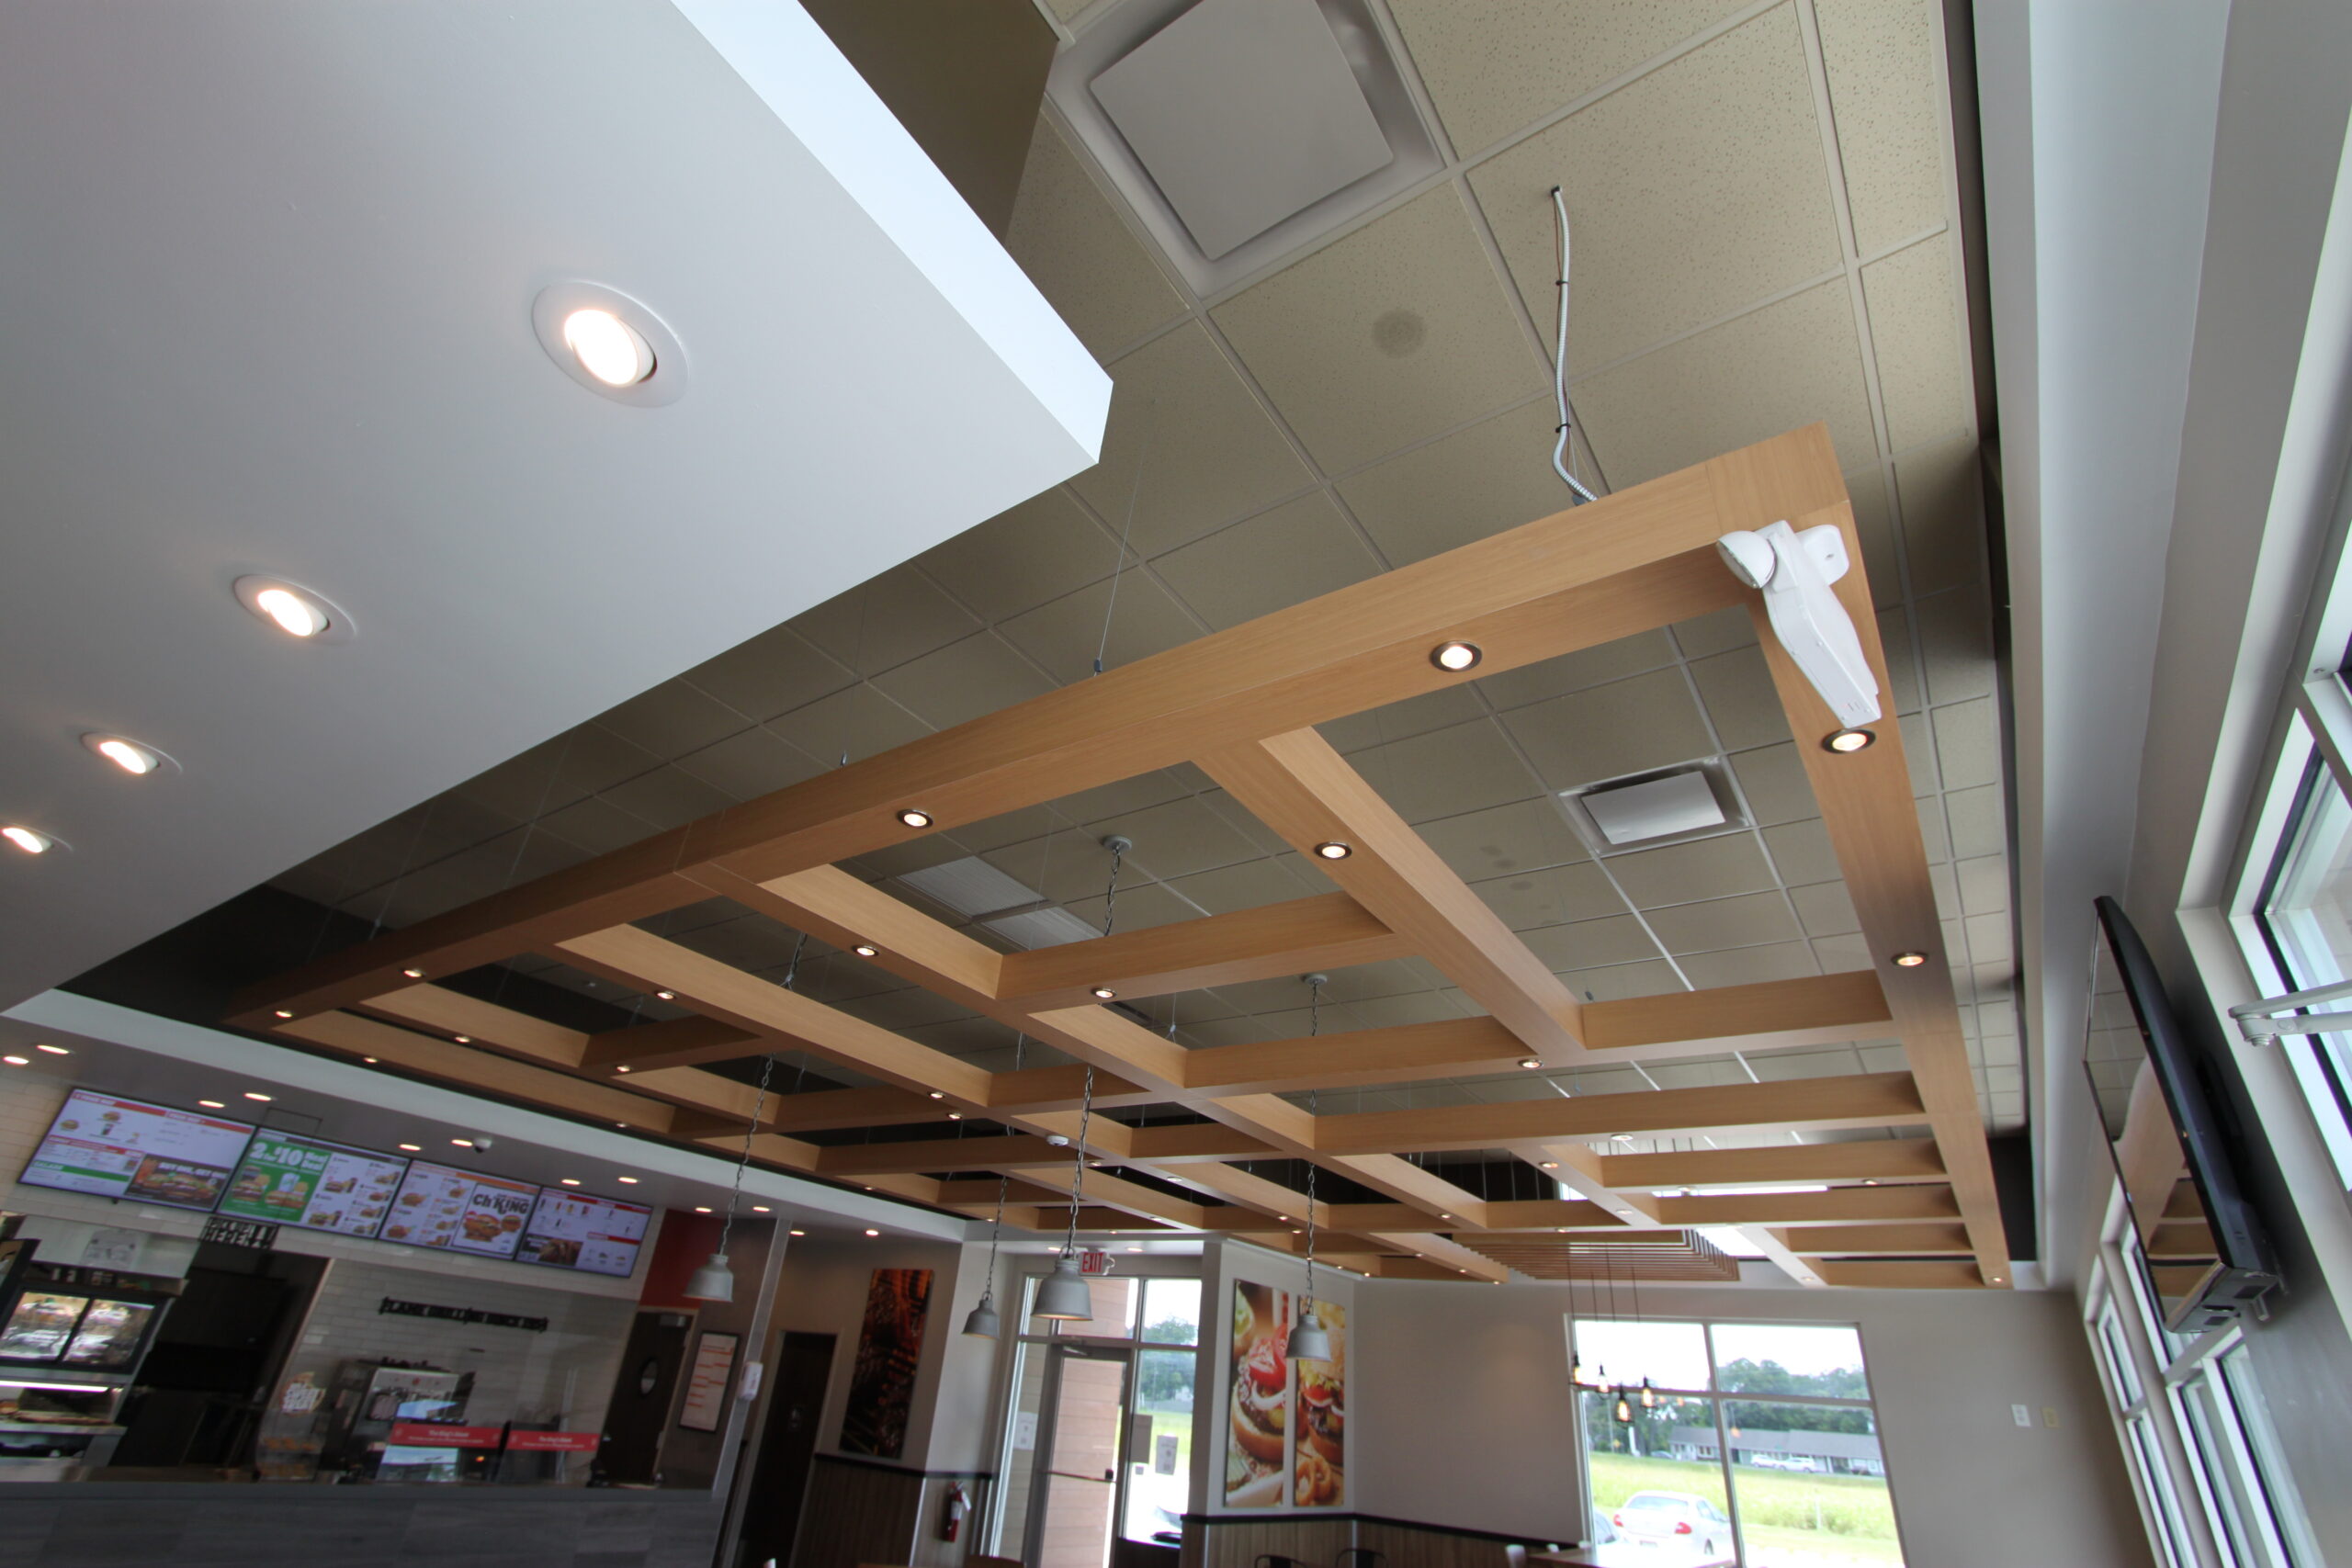
Before work begins, the project team should confirm where fixtures and penetrations are planned and determine which trades are responsible for each component. For example, light fixtures and air diffusers may need to align with specific grid openings. Some equipment may also require independent support rather than relying on the ceiling grid. These requirements vary by system and applicable code.
Coordination helps prevent conflicts that could otherwise lead to unnecessary cutting, rework, installation delays, or maintenance difficulties. The ceiling contractor should work with the appropriate trades to ensure that penetrations, supports, and clearances follow the approved design, product instructions, and applicable building requirements. Electrical, HVAC, fire protection, and other specialized work should be handled by appropriately qualified professionals.
For facility managers, this coordination is particularly important because the finished ceiling should provide the intended appearance while preserving necessary access to building systems.
7. Final Inspection and Quality Checks
After installation is complete, the ceiling system should be inspected before the project is considered finished. The inspection helps identify visible defects, alignment issues, and installation concerns that may need attention. Depending on the project, the review may include:
- Grid alignment: Checking that the framework appears level and properly connected
- Tile placement: Confirming that tiles sit correctly and fit consistently within the grid
- Surface appearance: Looking for damaged panels, visible gaps, uneven edges, or inconsistent patterns
- Fixture coordination: Checking that ceiling tiles and panels fit appropriately around approved fixtures and penetrations
- Site cleanliness: Removing installation debris and ensuring the work area is left in the agreed condition
- Documentation: Reviewing relevant product information, maintenance guidance, and project requirements
Any issues identified during the inspection should be documented and corrected as appropriate. Specialized systems may require additional inspections or verification by the relevant trades or authorities.
Property owners and facility managers should also ask about maintenance recommendations and how to access overhead utilities without damaging the installed ceiling. A final walkthrough gives the contractor and client an opportunity to review the completed work, discuss any outstanding items, and confirm that the installation meets the agreed project scope.
Invest in the Right Commercial Ceiling Solution
Commercial ceiling systems contribute to building appearance, indoor air quality, acoustic performance, and overall occupant comfort. From the initial design to professional installation and ongoing cleaning, every stage plays an important role in maximizing ceiling performance and protecting your investment. Working with one experienced commercial ceiling contractor simplifies project management, improves communication, and helps ensure your ceiling continues to perform as intended for years to come.
As a Houston-based commercial ceiling contractor with over 20 years of experience, Ceil Tex works with property owners, facility managers, contractors, and business leaders to design, install, and maintain commercial ceiling systems that meet their operational goals. Unlike companies that focus on only one part of the process, Ceil Tex provides a complete commercial ceiling solution with expert design, professional installation, and ongoing cleaning services all from one experienced team. Our team delivers complete ceiling solutions that help businesses improve workplace appearance, extend ceiling life, and simplify long-term facility management.
Planning a commercial ceiling project or looking for a trusted partner to maintain your existing ceiling system? Contact us today to schedule a professional consultation. Our experienced team can evaluate your facility, recommend practical solutions, and provide the complete design, installation, and cleaning services your building needs.